Prevent Wood Router Burn Marks: Causes and Fixes Explained
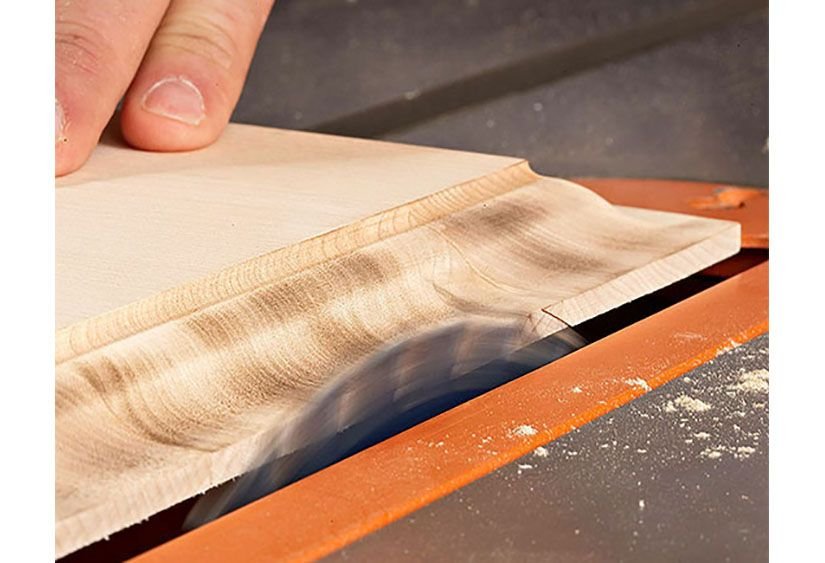
You can stop wood router burn marks by adjusting your feed rate and cutter speed to match the material density. These dark streaks happen when heat builds up from friction, so keeping the bit moving is the best way to prevent wood router burn marks: causes and fixes. If you see smoke or smell burning wood, pull the tool back immediately to avoid permanent surface damage.
Steps to prevent wood router burn marks and fixes
Turn off the router power switch immediately to halt the friction heat. If the bit is buried in the wood, don’t pull it out forcefully, as this often widens the burn mark. Instead, leave it settled until the motor stops completely.
Lift the router base off the wood surface to prevent deeper scorching. If the bit remains stuck, unplug the power cord from the wall outlet to ensure safety before attempting to loosen the collet.
A hot bit acts like a soldering iron; touching it to the wood while cooling will deepen the damage.
Check if the mark is surface dust or deep charring. If you can scrape it away with a fingernail, it’s only dust. Deep charring requires sanding.
Why wood router burn marks happen
Burning occurs when the cutting edge of your router bit stays in one spot for too long. Friction generates intense heat, which carbonizes the wood fibers and leaves a black or dark brown mark. This usually happens because the feed rate is too slow, meaning you’re moving the router across the wood slower than the bit can clear the material.
Another common cause is using a dull router bit. A sharp bit shears through wood fibers cleanly, but a dull one rubs against them. This rubbing creates more heat than cutting. If the bit is dirty with resin or pitch, that buildup adds more friction and blocks the chip evacuation path.
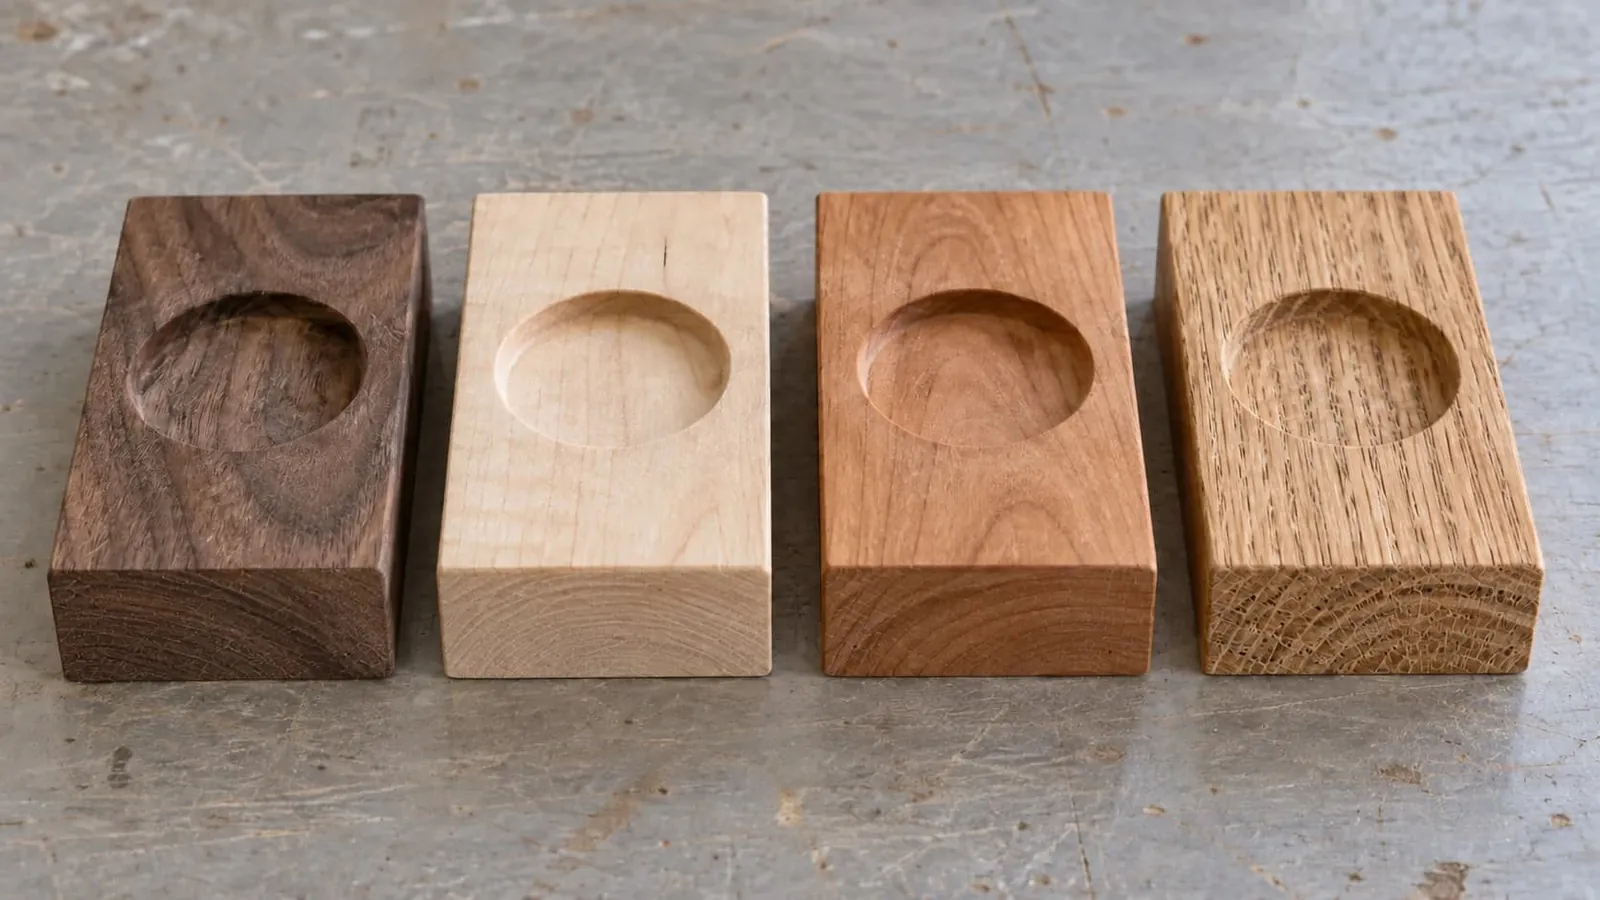
Hardwoods like maple or cherry are more prone to burning than softwoods. Because these woods are dense, they offer more resistance to the bit. If you take too deep of a pass, the bit has to remove more material than it can handle. This forces the motor to work harder and the bit to spin against the wood without ejecting chips fast enough.
Checks for router burning
Inspect the cutting edge
Look closely at the carbide tips on your bit. If you see rounded edges or chips, the bit is dull and needs professional sharpening or replacement. A sharp bit has a distinct, crisp edge that glints under a bright light.
Check for resin buildup
Examine the flutes of your router bit for dark, sticky deposits. If you see brown or black resin, the bit can’t cut efficiently. Clean these deposits with a specialized resin remover to restore the cutting geometry and reduce the friction causing those marks.
Verify your feed rate
Observe how fast you move the router across the board. If you move it too slowly, the bit spins in place and burns the wood. If you move it too fast, you get “chatter” or uneven cuts, so aim for a steady, constant pace.
Test your depth setting
Check if you’re trying to remove too much material in a single pass. If the bit is buried deep in the wood, it can’t eject chips effectively. For most bits, limit your depth to 1/4 inch per pass to keep the heat down.
Confirm router speed
Check the variable speed dial on your router motor housing. Large diameter bits require slower speeds to prevent burning, while small bits need higher speeds. If the bit is larger than 1 inch in diameter, set your router to a lower speed setting to keep the edge cool.
How to fix the damage
To remove existing burn marks, start by sanding the area with a medium-grit paper, such as 120-grit. Use a sanding block to keep the pressure even so you don’t create dips in the wood surface. If the burn is deep, you may need to start with 80-grit paper, but be careful not to remove too much material. Once the dark color is gone, switch to 180-grit and then 220-grit to blend the area with the rest of the board.
If the mark remains after sanding, the wood fibers might be crushed or charred deep down. In this case, you can use a sharp cabinet scraper to remove a thin layer of wood from the surface. Scrapers work better than sandpaper for leveling out burnt spots because they cut the wood fibers instead of rubbing them. After scraping, finish with a light sanding to smooth the texture.
If the burn is still visible after these steps, the wood is likely damaged too deeply to be salvaged without changing the dimensions of your project. You’ll know the fix has held when the wood surface looks uniform and feels smooth to your touch. If the burning returns immediately on the next pass, your bit is likely dull or the wood has a hidden knot.
When to seek professional help
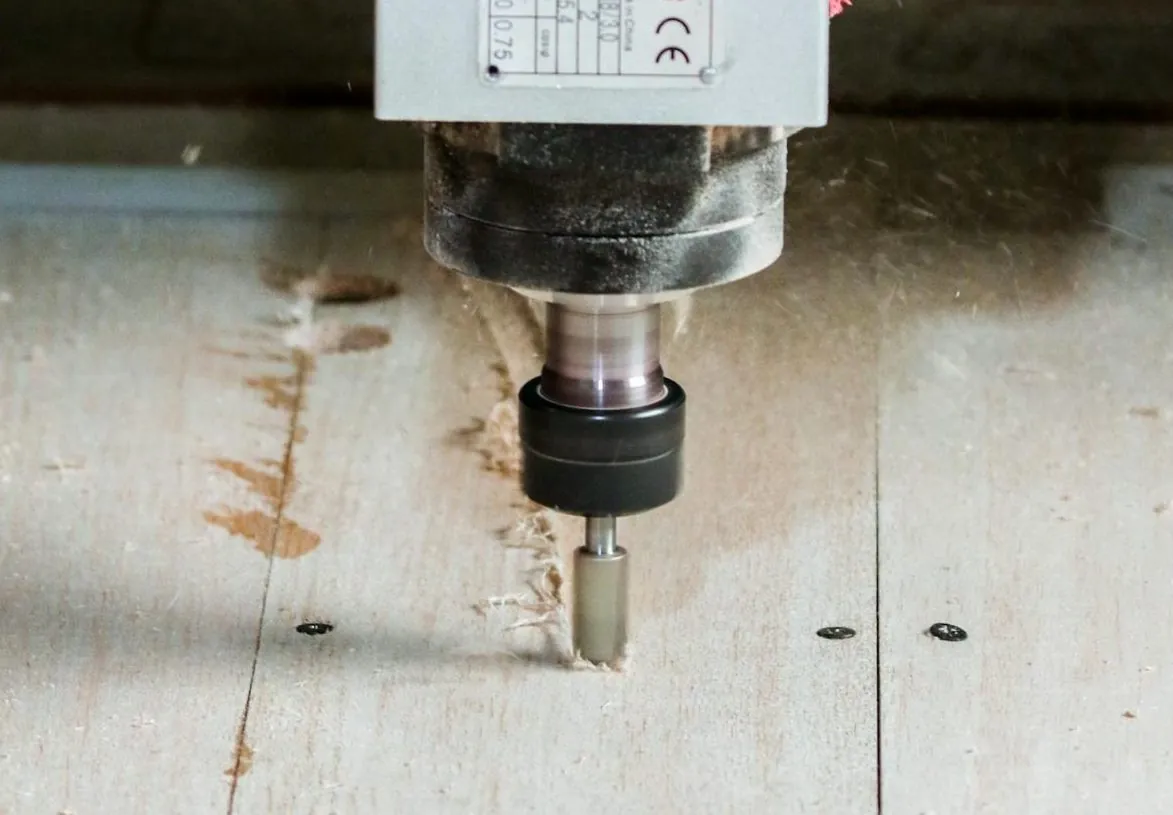
If you notice the router motor is losing power, making a grinding noise, or vibrating excessively, stop using it immediately. These signs often point to internal bearing failure or motor damage, which requires a qualified technician to repair. Attempting to fix a motor yourself can lead to dangerous tool failure or void your warranty.
If you have already replaced the bit, adjusted your feed rate, and cleaned the machine, but the burning continues, the issue might be with the router’s alignment or the collet. Take the tool to a professional repair center where they can check the runout and ensure the collet is holding the bit perfectly straight.
Frequently asked questions
Does wood type affect router burning?
Yes, dense hardwoods like maple, oak, and walnut are much more likely to burn than softwoods because they create more friction. If you’re working with these dense materials, you must increase your feed rate and take shallower passes to keep the bit cool.
Is it safe to use a burnt router bit?
No, you should stop using a burnt or dull router bit because it creates excessive heat and vibration. A dull bit is more likely to kick back, which can cause you to lose control of the tool and result in an injury.
How often should I clean my router bits?
You should clean your bits whenever you notice resin buildup. Using a dedicated resin cleaner prevents the sticky residue from hardening, which keeps your cuts clean and prevents the friction that leads to burn marks.
Why does my router smoke when cutting?
Smoking happens when the friction between the bit and the wood becomes so intense that it starts to char the material. This is a clear warning sign that your feed rate is too slow, your bit is dull, or you’re trying to cut too deep in one pass.
Can I sharpen my own router bits?
It isn’t recommended to sharpen router bits yourself because maintaining the exact factory geometry is difficult. If the geometry is off by even a small amount, the bit won’t cut evenly and can become a safety hazard, so it’s best to send them to a professional shop.
Does the router bit size change the speed?
Yes, the required speed depends on the bit diameter; larger bits must run at slower speeds to avoid burning the wood. If you look at your router’s manual or the bit packaging, you’ll find the recommended RPM range for the specific diameter you’re currently using.
Conclusion
You can prevent most burn marks by keeping your bits clean and moving the tool at a consistent, brisk pace. If you find yourself having to force the router to move, stop and check if your bit is dull, as a sharp bit should glide through the wood with minimal resistance. Always prioritize safety by keeping your hands away from the cutting path and ensuring the workpiece is clamped firmly to your table.