Single-Bevel vs. Dual-Bevel Miter Saw: The Key Differences
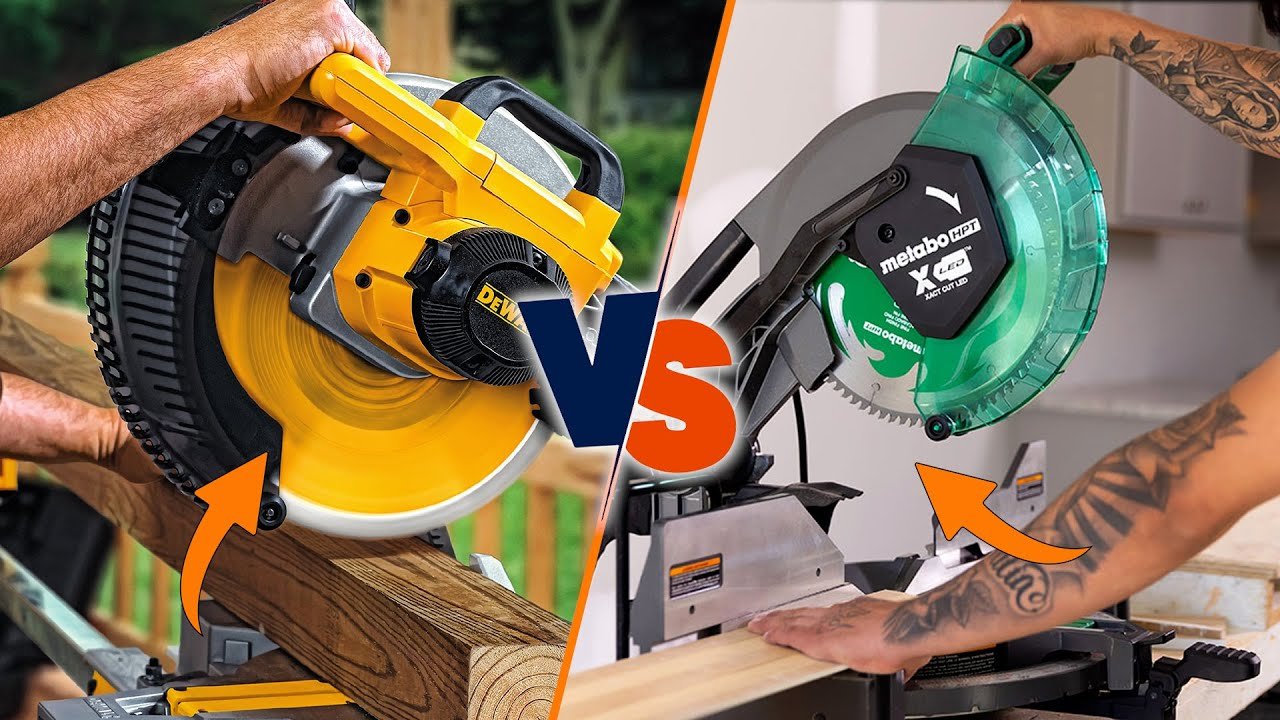
A single-bevel miter saw tilts in only one direction, while a dual-bevel miter saw tilts both left and right for easier compound cuts. You should choose the single-bevel model if you want to save money and space, but the dual-bevel is better if you do a lot of crown molding or professional trim work.
Miter saw bevel types compared
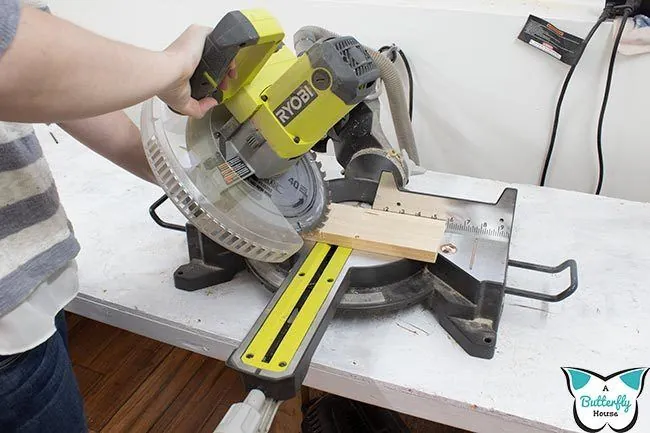
The main difference between these saws is how they move the motor head to create angled cuts. While a single-bevel saw forces you to flip your board to cut the opposite angle, a dual-bevel saw lets you simply tilt the blade.
| Method | How long | Effort | Cost | Best for |
|---|---|---|---|---|
| Single-bevel | Longer | High | Low | Simple home projects |
| Dual-bevel | Faster | Low | High | Complex trim and molding |
Every saw requires careful calibration to ensure the blade is square to the fence at 0 degrees. You can check this using a precision square before making any cuts.
Using a single-bevel miter saw
This saw tilts to the left only, which is why you must flip your workpiece to make matching angles on both sides. To use it:
- Set your miter angle on the base scale to the desired degree.
- Loosen the bevel locking knob on the back of the saw.
- Tilt the saw head to the left until it hits your required angle.
- Tighten the locking knob firmly before you pull the trigger.
It’s a great choice for beginners who mostly cut square ends or simple miter joints. However, you’ll find it frustrating for crown molding, as you must flip the board upside down or use complex jigs to get the right fit.
Using a dual-bevel miter saw
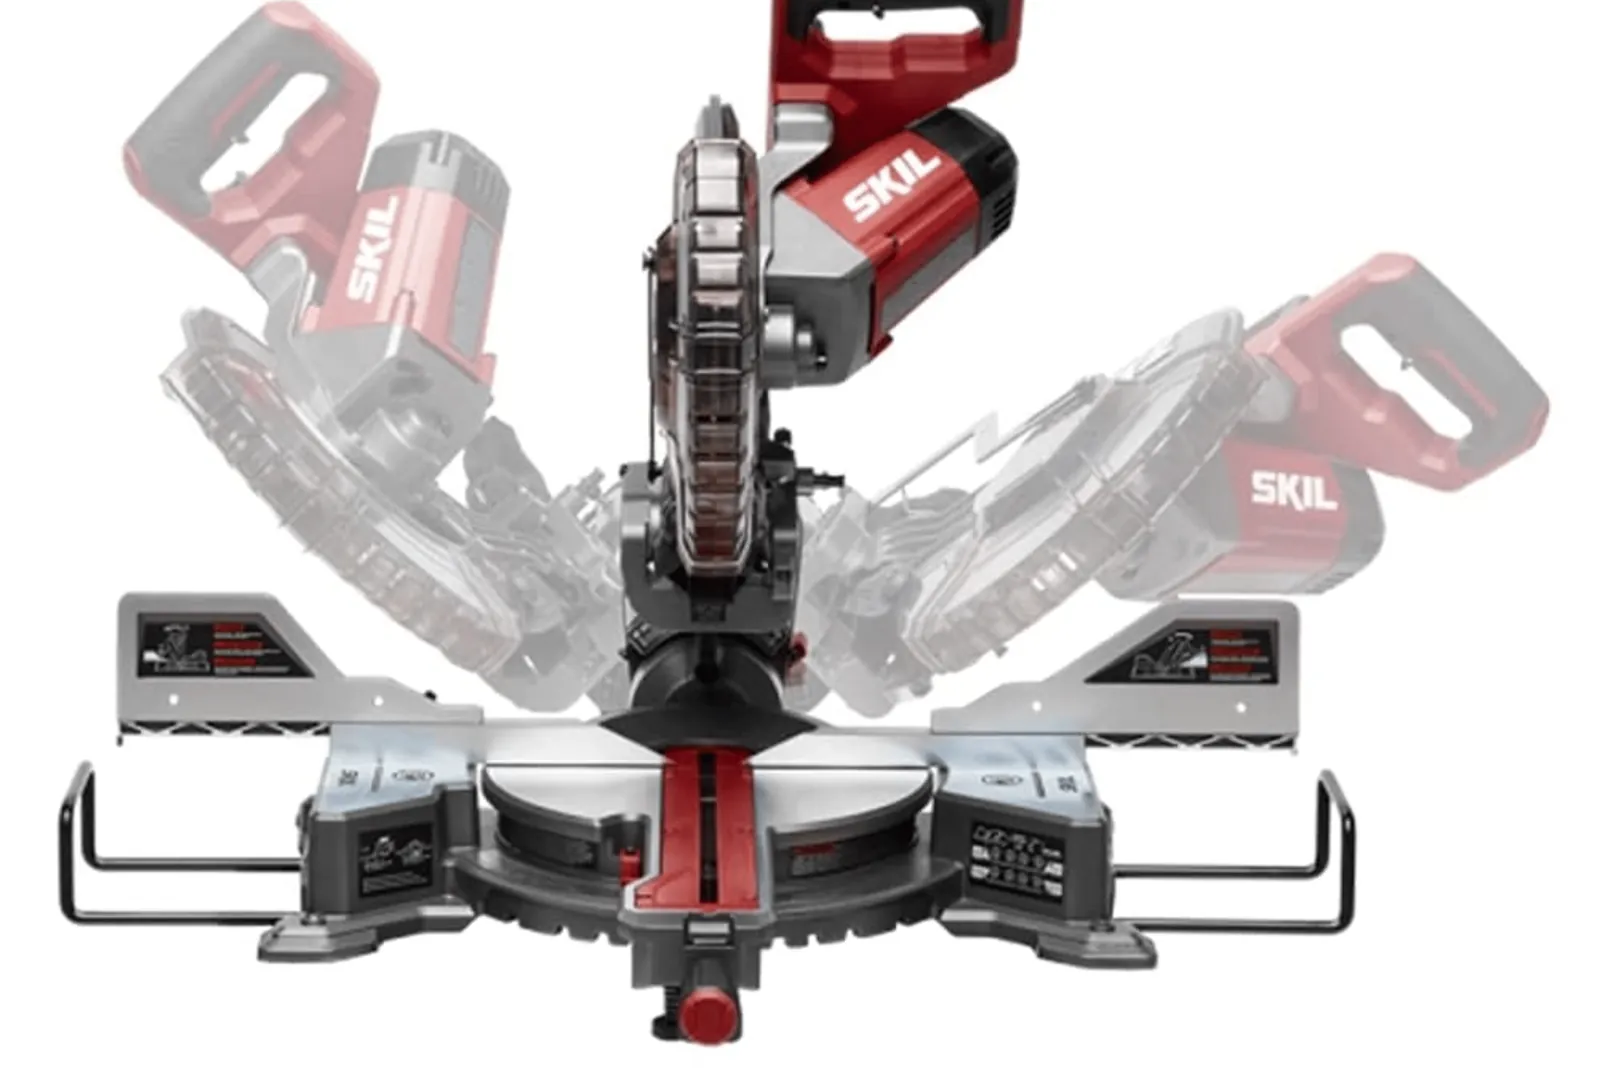
A dual-bevel saw allows you to tilt the blade head left and right without moving the board. This is essential for professional trim installers who need to save time on repetitive cuts. Follow these steps:
- Loosen the bevel release lever located at the rear of the unit.
- Select the left or right tilt by moving the head to your desired angle.
- Verify the detent locks into place at the marked degree.
- Secure the locking mechanism to prevent any blade movement during the cut.
This tool reduces the risk of cutting the wrong side of your material. The main downside is that these units are heavier and take up more room in a small workshop.
Factors that influence your choice
Choosing between these tools depends on your specific workspace and the projects you plan to tackle. If you’re building a deck or simple shelves, a single-bevel saw is usually enough. For those who frequently install crown molding, the dual-bevel saves significant time.
If you have a small shop, remember that a dual-bevel saw often requires more clearance behind it for the blade to tilt fully to both sides. Always check the Occupational Safety and Health Administration guidelines for proper machine guarding and safe operation before you start your first project. Never bypass safety features, as this can lead to serious injury.
Which saw is right for you?
When you’re in a hurry to finish a professional trim project, a dual-bevel saw is the clear winner because it avoids the need to flip heavy boards. If you’re doing this for the first time, a single-bevel saw is often better because it’s simpler to set up and less intimidating to use.
If you want the best possible result regardless of the price, get a dual-bevel model to ensure your compound angles match perfectly every time. The big trade-off is that you pay more for the convenience of a dual-bevel, whereas a single-bevel gives you more value if you only cut straight or simple miters.
Proper care for your miter saw
Regardless of your chosen model, maintaining your equipment ensures your cuts remain accurate over time. You must check the alignment of the blade to the table regularly, as vibrations can loosen the settings. Always unplug the power cord before you perform any adjustments or blade changes to prevent accidental starts.
If you notice your cuts are no longer square, use a machinist’s square to reset your bevel stops to the factory zero point. This simple step prevents wasted material and keeps your joints tight during assembly. If the saw requires a complex internal repair, take it to a certified service center to avoid voiding your warranty.
Frequently asked questions
Can I use a single-bevel saw for crown molding?
Yes, you can, but it’s difficult because you must flip the board over or use a nested technique. This requires a lot of practice to get the angles to match perfectly on both ends of the molding.
How long does it take to calibrate a miter saw?
It takes about 10 to 15 minutes to fully calibrate a saw for the first time. This includes checking the miter scale and the bevel stops using a precision square on a flat, stable workbench.
Is it safe to use a dual-bevel saw for beginners?
Yes, it’s safe, but you must be careful not to tilt the saw into the wrong direction for your specific cut. Beginners often make the mistake of tilting the wrong way, which can ruin the workpiece.
What happens if the blade isn’t square?
Your joints will have visible gaps, and your boards won’t fit together properly at the corners. This happens because the angle is slightly off, which makes it impossible to achieve a tight, professional-looking miter joint.
How often should I check the bevel stops?
You should check your bevel stops every time you move the saw or after any heavy use. Vibrations from cutting thick hardwood can cause the locking mechanisms to shift slightly over time, affecting your cut accuracy.
Is a dual-bevel saw worth the extra cost?
Yes, it’s worth the cost if you do decorative trim work or frequent woodworking. If you only use the saw for occasional framing, the extra cost for the dual-bevel feature may not be necessary for your needs.
Conclusion
Think about the projects you’re planning to tackle this year before heading to the store. If you’re just starting out, a simpler tool won’t hold you back, but you’ll appreciate the extra flexibility if your workload grows. Pick the one that fits your current needs, and you’ll be ready to start building.