Essential Track Saw Accessories: Clamps, Squares, and Guides
A professional track saw is only the beginning of achieving shop-quality results. Because the standard rail and saw often lack the necessary stability or precision, woodworkers frequently look to add clamps, squares, and guides to their systems. Outfitting a rail setup with these aftermarket or manufacturer-specific accessories typically costs between $80 and $650.
Key Takeaways
- Always prioritize rail-specific clamps that slide into the T-slot to prevent the track from shifting during long rip cuts.
- Square attachments are essential for cross-cutting, as they index against the edge of your workpiece to ensure a perfect 90-degree angle.
- Use parallel guides for batch processing cabinet parts to save time on repetitive measurements.
- Proper maintenance of the anti-chip strip and track underside is just as important as the hardware you add to the system.
- System compatibility is paramount; verify if your accessories are designed for Festool, Makita, or universal T-slot tracks before purchasing.
Why Do You Need Clamps?
Rail clamps are arguably the most critical addition to your kit. While the underside of most tracks features a rubberized grip strip, it’s rarely sufficient to prevent “walking” when you’re cutting slippery materials like melamine or dense hardwoods. Proper clamping ensures the rail remains locked in place throughout the entire duration of the cut, which is vital for both safety and accuracy.
| Clamp Type | Best Use Case | Typical Price Range |
|---|---|---|
| Lever-Action | Quick tensioning for repetitive cuts | $35 – $60 |
| Screw-Style | Heavy-duty, high-torque applications | $25 – $45 |
| One-Handed | Tight spaces or overhead work | $30 – $55 |
Pro Tip: When using rail clamps, always ensure the pressure is applied evenly across the width of the track to avoid bowing the rail, which could lead to binding the saw blade mid-cut.
Are Squares Necessary For Accuracy?
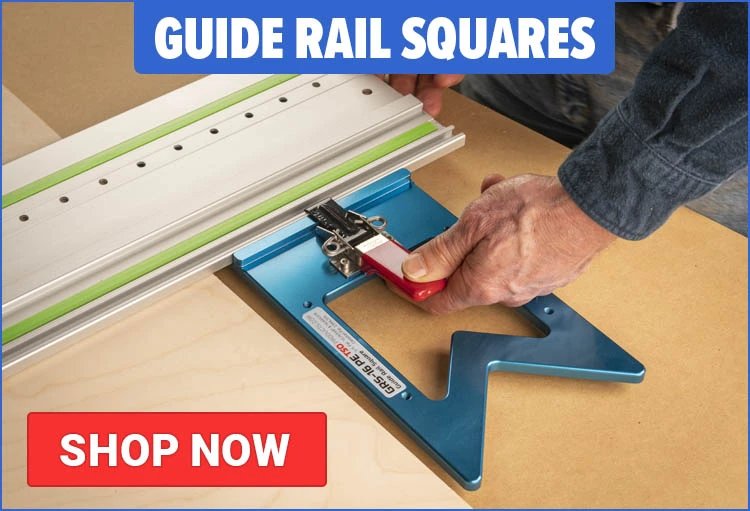
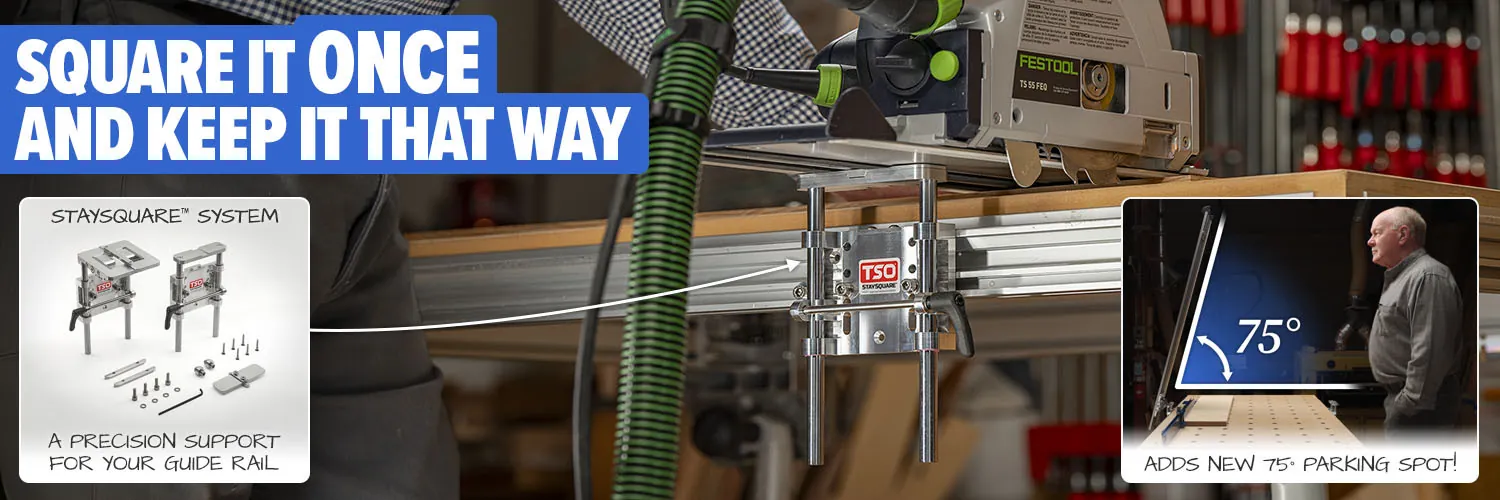
If you rely on your track saw for breaking down sheet goods, a square attachment is an absolute game-changer. These devices mount to the end of the track and reference the factory edge of your plywood. By eliminating the “fiddling” stage where you manually align the track to your pencil mark, squares allow for rapid, repeatable cross-cutting. Models from brands like TSO Products or Woodpeckers offer precision machining that ensures your cut is dead-on square every single time.
Mastering Parallel Guides
Parallel guides are the secret to turning a track saw into a portable panel saw. These consist of rods and stops that extend from the side of the track, allowing you to register against the edge of the board. This is the primary method for ripping multiple boards to the exact same width without ever needing to pull out a tape measure.
- Festool Parallel Guides: Best for integrated ecosystem users.
- Makita Guide Rail Rip Attachment: Designed specifically for the E-05670 rail system.
- Aftermarket Universal Kits: Often compatible with multiple rail brands.
Warning: Always perform a test cut on scrap material after adjusting your parallel guides to ensure that any slight deflection in the rods hasn’t compromised the width setting.
Selecting The Right Track Guides
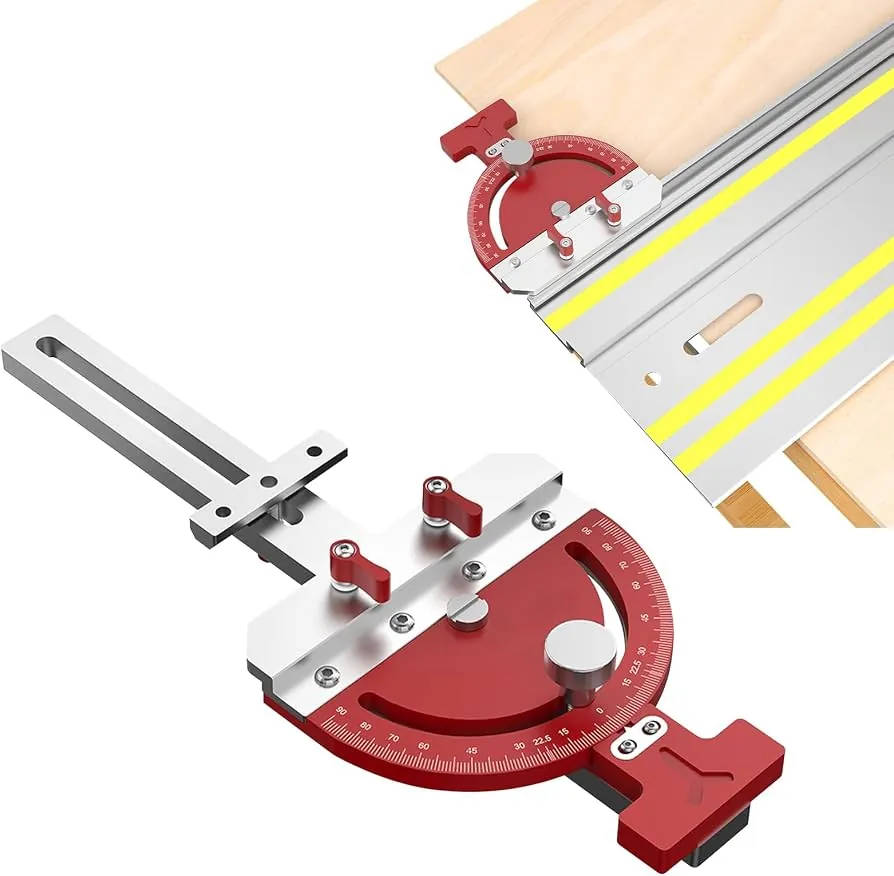
Beyond the basic rail, various “guides” help manage the saw’s path. These include limit stops, which prevent the saw from plunging too deeply or moving past a specific point, and rail connectors.
If you frequently break down 8-foot sheets, a pair of high-quality rail connectors is essential. These align two shorter tracks into one long, perfectly straight line. According to the ISO 8525 standards for woodworking machinery, maintaining strict alignment across joined rails is critical for preventing kickback and ensuring operator safety.
Managing Your Dust Collection
While not a mechanical guide, dust extraction is an accessory that improves the functionality of the entire system. A track saw is only as good as the visibility you have of your cut line. If your dust collection is poor, the track gets covered in debris, which makes it harder to align and can lead to uneven pressure. Invest in a dedicated anti-static hose and a high-quality vacuum adapter to keep your workspace clear and safe from airborne particles.
Comparing Essential Track Saw Additions
| Accessory | Primary Benefit | Required Skill Level |
|---|---|---|
| Track Squares | Eliminates layout time for cross-cuts | Beginner |
| Rail Connectors | Joins tracks for long rips | Intermediate |
| Parallel Guides | Batch processing and width consistency | Intermediate |
| Rail Clamps | Prevents track movement/slippage | Beginner |
Maintaining Your Track System
Your track is a precision tool and should be treated as such. Never store tracks leaning against a wall, as they can develop a permanent “set” or bow. Keep them flat on a shelf or hung vertically using dedicated wall brackets. Periodically check the tension of the rubber anti-chip strip; if it becomes loose or worn, replace it immediately to maintain the zero-clearance capability that makes track saws so effective at preventing splintering.
Storage And Organization Solutions
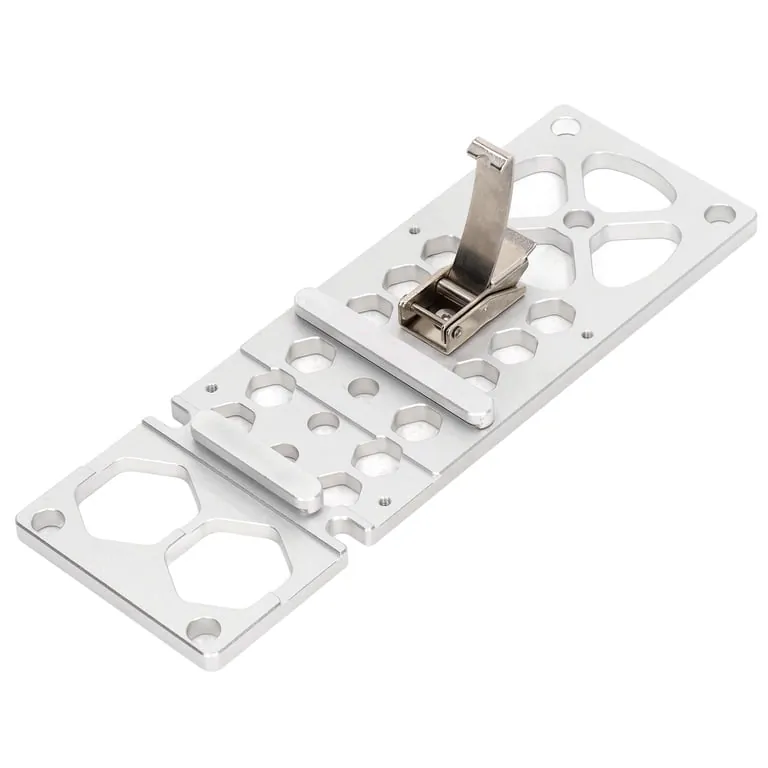
A high-end track saw setup requires a home. Many professionals use custom wall-mounted racks to keep their rails, clamps, and squares organized. If you work on job sites, look for heavy-duty plastic or aluminum cases that protect the rails from dings and dents. A single dent in the edge of your track can ruin the smooth glide of your saw, leading to uneven cuts that are difficult to troubleshoot later.
Frequently Asked Questions
Do I need to buy branded accessories?
Not necessarily. While manufacturer-branded accessories offer guaranteed compatibility, many aftermarket companies produce high-quality alternatives that often outperform stock parts. Always check the specific T-slot dimensions of your rail before purchasing, as some tracks require proprietary locking mechanisms to function correctly.
Can I use clamps on all tracks?
No, most track saw clamps are designed to fit into specific T-slots. While some are universal, you must verify the width of your rail’s channel. Using an incorrectly sized clamp can damage the rail or fail to hold the saw securely, creating a significant safety risk during operation.
How do I keep my cuts perfectly straight?
Straight cuts rely on two things: a clean, undamaged track and proper rail alignment. Ensure your track isn’t bowed during storage and always use at least two rail clamps when cutting long stock. If you’re joining two rails, use a long level to verify the joint is perfectly straight before tightening the connectors.
Are parallel guides worth the cost?
If you frequently cut multiple pieces to the same width, yes. They save significant time and reduce the margin of error associated with manual measurements. For occasional users, a simple jig or a careful layout may suffice, but for cabinet makers or furniture builders, they’re indispensable tools for efficiency.
What is the purpose of the rubber strip?
The rubber strip on the bottom of the track serves two purposes: it provides friction to prevent the rail from sliding, and it acts as a zero-clearance edge. This edge supports the wood fibers right up to the blade, which is how a track saw produces splinter-free cuts on delicate veneers and finished plywood surfaces.
Conclusion
Upgrading your setup is a gradual process that should align with your specific woodworking needs. Start by mastering the basic rail clamps and a reliable square, as these provide the most immediate improvement to your daily accuracy. Once you feel comfortable with those, consider adding parallel guides to streamline your production flow. Keep your tracks clean, store them carefully, and always prioritize tool safety.