Cordless Drill Clutch Keeps Slipping: Simple Fixes That Work
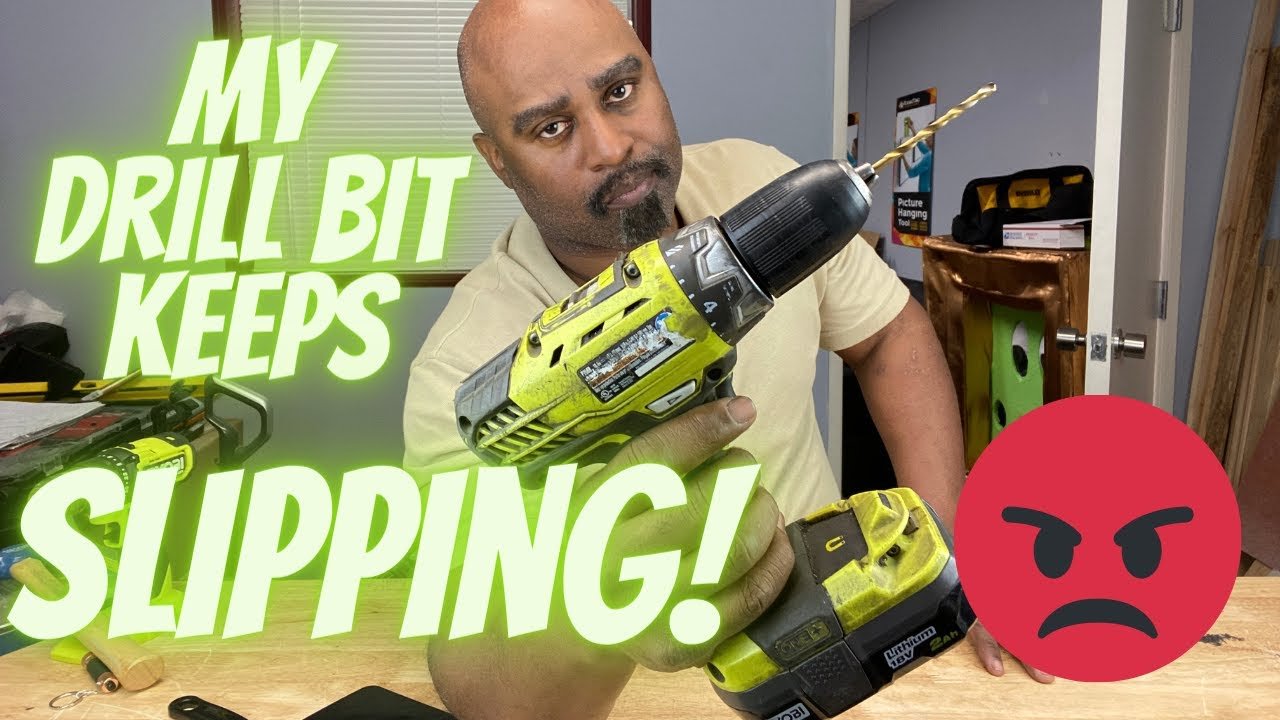
A cordless drill clutch that keeps slipping means the drill spins without driving the fastener, or the chuck stops turning while the motor keeps running. Most of the time it isn’t a broken tool; it’s simply a setting, worn part, or bit problem you can fix in a few minutes. This article walks through why it happens, how to check it, and when to repair or replace the drill.
Key Takeaways
- Check the clutch collar first: set it to the highest number or the drill symbol for drilling, not a low torque number.
- Use a fresh, fully charged battery; low voltage can make the clutch seem to slip under load.
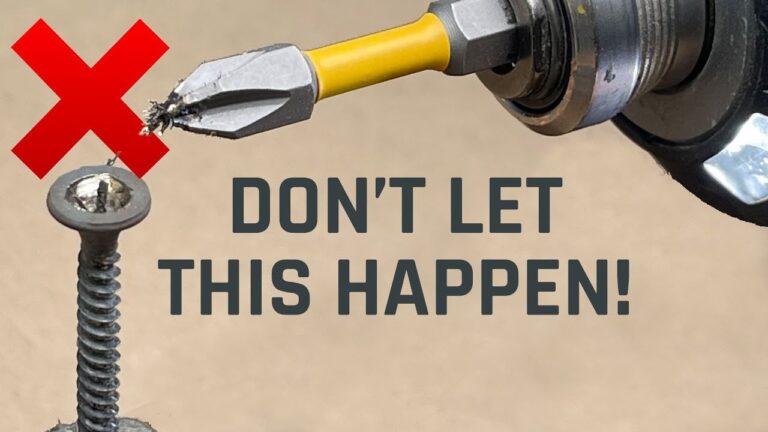
- Match the driver bit to the screw head and keep it fully seated; a worn or loose bit cam-outs and looks like clutch slip.
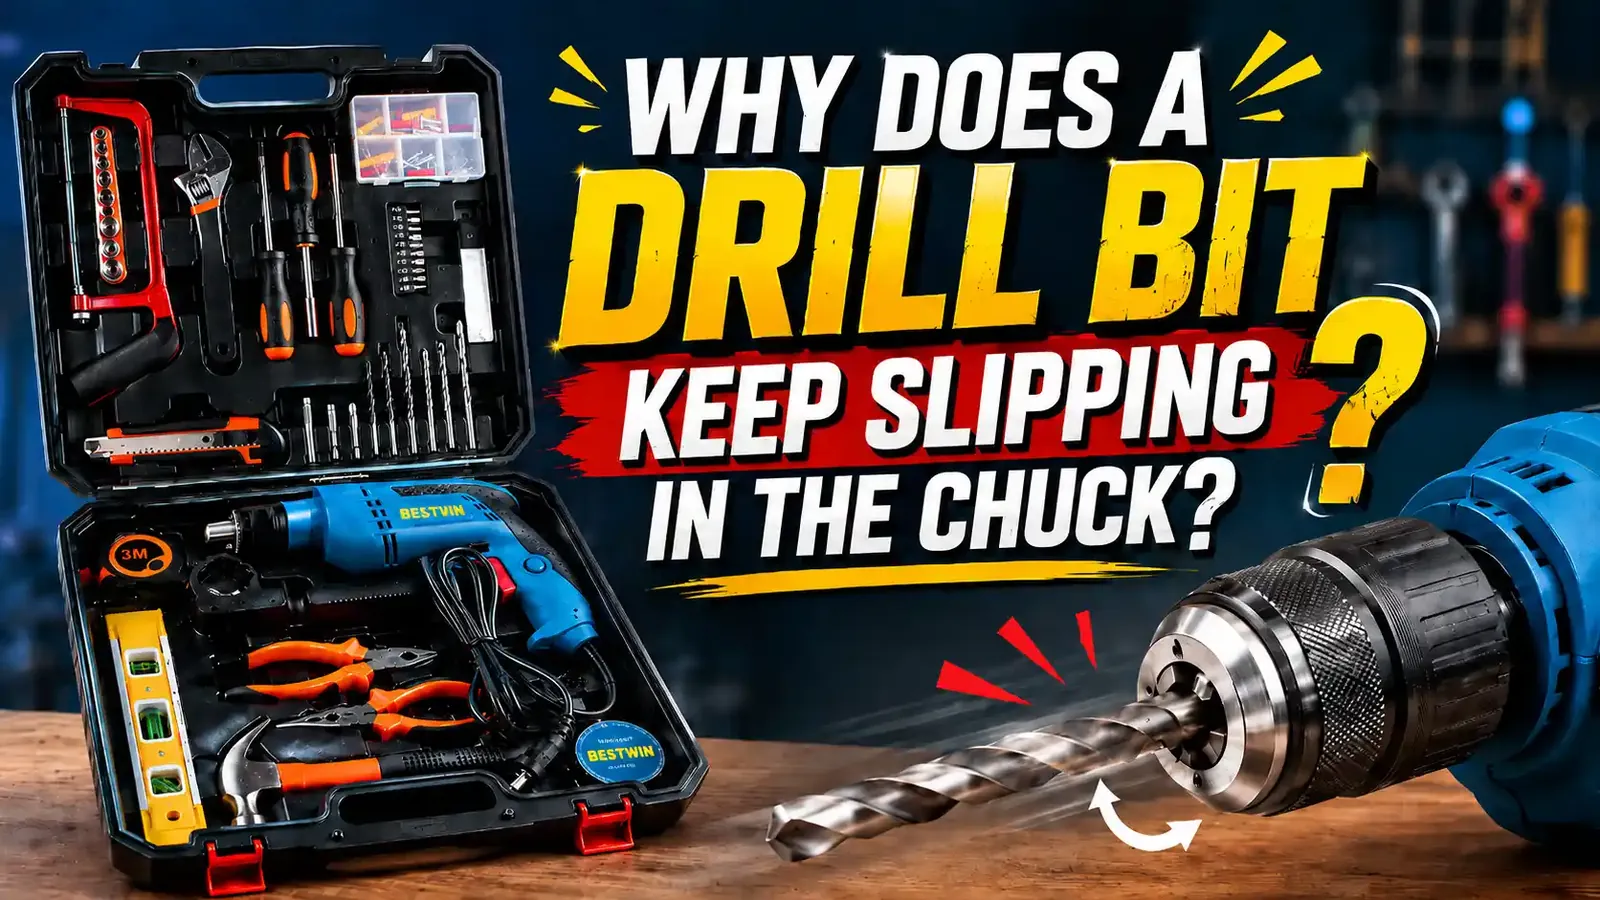
- Clean the chuck and bit shank; grease, sawdust, or rust prevents the bit from gripping.
- If the clutch slips at every setting or makes grinding noises, the internal clutch plates are likely worn and the drill needs service or replacement.
What the Clutch Actually Does
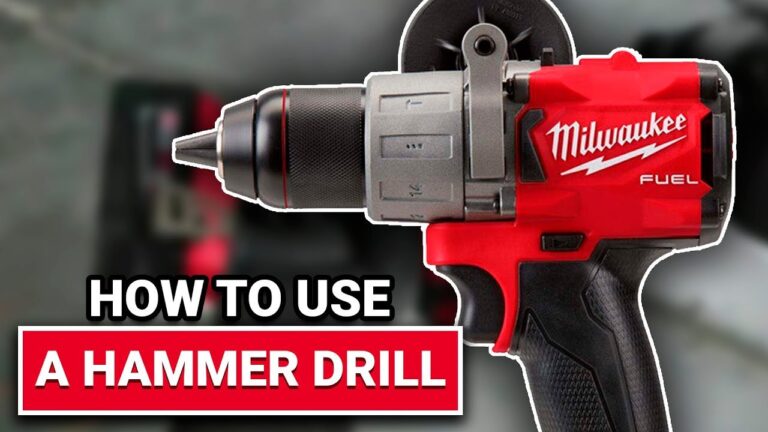
The clutch is the adjustable collar behind the chuck, usually marked with numbers and sometimes a drill-bit icon. It limits how much turning force the drill applies before the internal clutch disengages. That protects screw heads, wood, and the motor from over-tightening. When the clutch slips on purpose, you hear a clicking ratchet and the chuck stops while the motor keeps running. When it slips by accident, the fastener never gets tight.
Why a Cordless Drill Clutch Keeps Slipping
Several common causes produce the same symptom. Check them in this order before assuming the drill is broken.
- Clutch set too low. A low number on the collar disengages the clutch almost immediately, which is correct for small screws but wrong for driving larger fasteners or drilling holes.
- Low battery voltage. A weak battery can’t deliver enough torque, so the drill stalls or the clutch disengages before the screw is seated.
- Wrong or worn driver bit. A Phillips bit in a square-drive screw, or a bit with rounded edges, will cam out of the screw head. That looks and sounds exactly like clutch slip.
- Dirty or oily chuck. Grease on the bit shank or inside the chuck lets the bit spin without turning the screw.
- Worn internal clutch plates. Repeated use at high torque, or drilling with the clutch engaged, wears the plates so they can’t hold even at high settings.
- Stuck or broken clutch collar. Dirt or impact damage can keep the collar from engaging the mechanism behind it.
How to Diagnose the Slipping Clutch
Work through these checks from easiest to most involved.
- Look at the clutch collar. Turn it to the highest number or the drill icon. If the drill now drives fasteners without slipping, the setting was simply too low.
- Charge or swap the battery. Try a known-good battery. If the slipping stops, the original battery was too weak.
- Inspect the bit. Make sure it matches the screw head type and size. Replace any bit with rounded or chewed edges.
- Clean the chuck and bit. Wipe the bit shank and the inside of the chuck with a dry rag. Remove oil, sawdust, and rust.
- Test in drill mode. Set the collar to the drill symbol and bore a small hole in scrap wood. If the chuck still slips under light load, the internal clutch is likely worn.
- Listen and feel. Grinding, crunching, or a loose collar usually means internal damage rather than a setting issue.
Clutch Settings and What They Mean
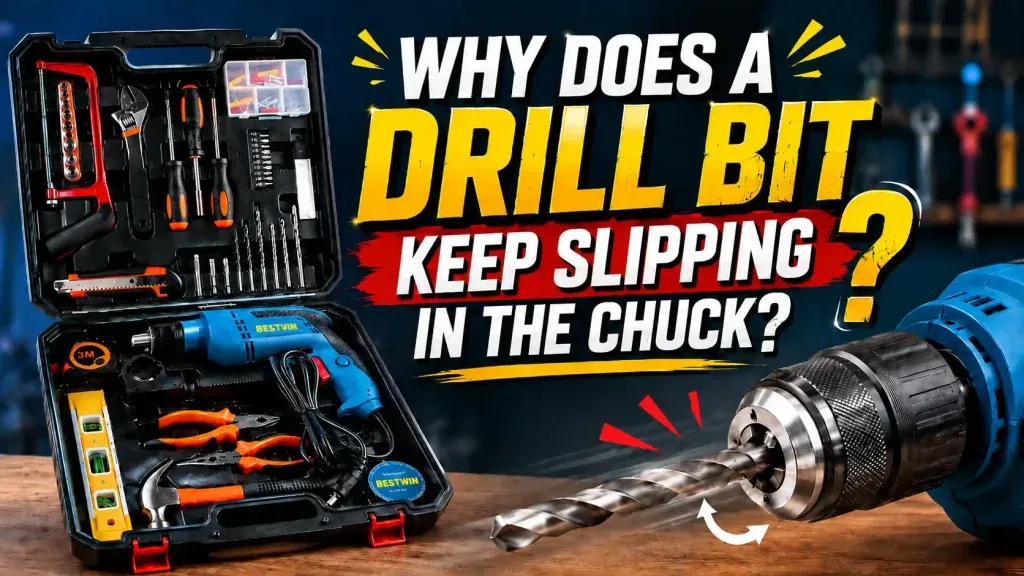
Most cordless drills use numbered settings plus a drill mode. Higher numbers allow more torque before the clutch releases.
| Setting | Typical Use | What Happens at Slip Point |
|---|---|---|
| 1–5 | Small screws in softwood or drywall | Clutch releases almost immediately |
| 6–12 | General wood screws and furniture assembly | Moderate torque before release |
| 13–20+ | Large screws, lag bolts, dense wood | High torque before release |
| Drill icon | Drilling holes | Clutch is disengaged; motor drives continuously |
Not every brand numbers the collar the same way. On some drills, the highest number is maximum torque; on others, the drill symbol is the only true no-slip mode. Check the owner’s manual for your model.
Quick Fixes You Can Do Today
Most slipping clutches respond to one of these steps.
Reset the clutch setting. Turn the collar to the highest number or the drill-bit icon. Drive a test screw in scrap wood. If it holds, you were using too low a setting for the job.
Charge or replace the battery. Cordless drills lose torque as the battery drains. A battery that works for light tasks may fail under the load needed to engage the clutch properly. Try a fully charged battery of the same voltage.
Change the driver bit. Use the correct bit type—Phillips, square, Torx, or hex—and make sure it’s fully seated in the chuck. A bit that wobbles will cam out of the screw head and mimic clutch slip.
Clean the chuck. Remove the bit and wipe the inside of the chuck and the bit shank with a clean, dry rag. If you see oil or grease, a little rubbing alcohol on the rag can help, but don’t soak the tool.
Pro Tip: Keep a small set of new driver bits in your tool bag. A worn bit is the cheapest and most common cause of what looks like clutch failure.
When the Clutch Is Mechanically Worn
If you have tried a fresh battery, the correct bit, a clean chuck, and the highest clutch setting, and the drill still slips, the internal clutch plates are probably worn. Signs include:
- Slipping at every clutch setting, including the highest number.
- A grinding or clicking sound even in drill mode.
- A clutch collar that feels loose, crunchy, or doesn’t click between settings.
- The chuck spins freely by hand when the drill is off and the clutch is set high.
At that point, the repair usually costs more than the drill is worth unless it’s a high-end professional model. Replacing the clutch requires opening the gearbox, sourcing the correct plates, and reassembling with the right grease. For a mid-range consumer drill, a new tool is typically the better choice.
Repair Versus Replace: A Quick Comparison
| Factor | Repair | Replace |
|---|---|---|
| Typical cost | $40–$90 plus shipping | $60–$200 for a new drill |
| Downtime | Several days to weeks | Immediate |
| Best for | High-end pro drills under warranty | Consumer or older drills |
| Result | Original tool restored | New battery, warranty, and features |
If your drill is still under warranty, contact the manufacturer before opening anything. Opening the gearbox yourself often voids the warranty.
Brands and Models Known for Clutch Issues
No brand is immune to clutch wear, but some lines are more common in repair shops simply because they sell in high volume. Brands such as DeWalt, Milwaukee, Makita, Ryobi, Black+Decker, and Craftsman all produce cordless drills with adjustable clutches. If you own a specific model and the clutch slips under normal use, search the model number plus “service manual” or contact the brand’s support line for parts availability.
Maintenance to Prevent Clutch Slip
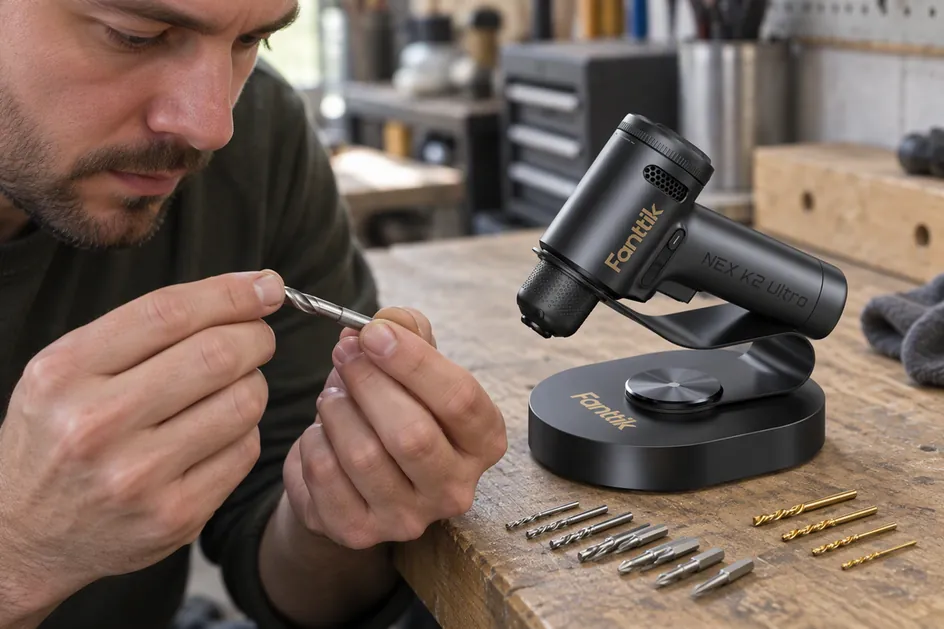
A few habits extend clutch life.
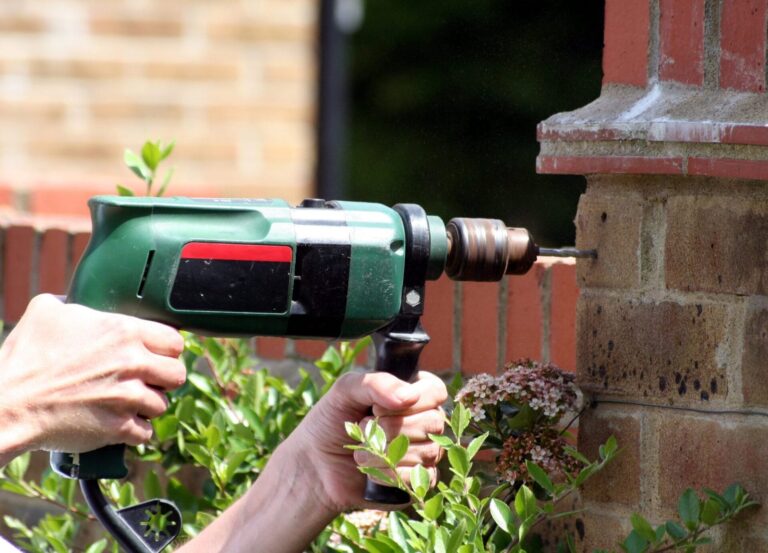
- Use drill mode for holes. Driving the clutch against a drill bit wears the plates quickly.
- Match the clutch to the fastener. Start low and increase only until the screw seats without stripping.
- Store the drill with the clutch on a low setting. This relieves spring tension when the tool sits idle.
- Keep bits clean and sharp. Replace bits as soon as they show rounded edges.
- Avoid side-loading the chuck. Don’t use the drill as a screwdriver with the bit bent at an angle.
Warning: Never lubricate the inside of the clutch mechanism with oil or grease unless the manufacturer specifically instructs you to. The wrong lubricant can contaminate the clutch plates and cause permanent slip.
Related guides
- 10 Best Cordless Drill for Assembling Furniture Picks
- 10 Best Cordless Drill Drivers for Beginners: Our Top Picks
- 10 Best Cordless Drill for Hanging Shelves Picks and Reviews
Frequently Asked Questions
Why does my cordless drill clutch slip only with large screws?
Large screws need more torque than small ones. If the clutch is set to a low number, it releases before the screw is fully driven. Turn the collar to a higher number or the drill symbol and try again.
Can a bad battery make the clutch slip?
Yes. A weak battery can’t supply enough torque, so the drill reaches the clutch limit before the screw is seated. Charge the battery fully or try a different one to test.
Should I drill holes with the clutch engaged?
No. Set the collar to the drill-bit icon. Drilling with the clutch on a number wears the internal plates and can cause premature slipping.
How do I know if the clutch is broken versus just set too low?
If the drill works at the highest setting or in drill mode but slips at lower numbers, it’s a setting issue. If it slips at every setting and makes grinding noises, the clutch is likely worn.
Is it worth repairing a slipping clutch?
On an inexpensive consumer drill, usually not. Repair often costs $40–$90, while a new drill starts around $60. High-end professional models under warranty are the exception.
Conclusion
If the clutch still slips after you try a fresh battery, the correct bit, a clean chuck, and the highest setting, take the drill to a service center or shop for a replacement.