How to Use a Die Grinder: Step-by-Step Setup and Operating Guide
Using a die grinder involves mastering the control of a high-speed rotary tool to perform precise material removal, deburring, and polishing on metal or wood surfaces. These versatile handheld power tools are essential for automotive fabrication, metalworking, and intricate carving tasks. Whether you’re using a pneumatic or electric model, the setup process requires careful attention to collet maintenance, accessory selection, and personal protection. Because these tools spin at incredibly high revolutions per minute, understanding the mechanics of operation is the most important step for any beginner looking to achieve clean results while maintaining a safe workspace.
Key Takeaways

- Always verify that the rated speed of your accessory matches or exceeds the maximum RPM of your die grinder.
- Wear ANSI-approved impact-resistant eye protection and hearing protection during every operation to mitigate risks from flying debris and noise.
- Insert the accessory shank at least three-quarters of an inch into the collet to prevent vibration and potential tool failure.
- Maintain a firm, two-handed grip on the tool body to ensure maximum control and stability when engaging the material.
- Start the tool before touching the accessory to the workpiece and remove it before switching the motor off.
Essential Beginner Setup and Operating Guide
Setting up your tool correctly is the foundation of every successful project. A die grinder consists of a motor housing, a collet nut, and a collet that grips the shank of your chosen bit. To begin, ensure the power source—whether an air compressor hose or an electrical outlet—is disconnected. Use the provided wrenches to loosen the collet nut.
Insert your burr or grinding stone, ensuring the shank is seated deeply. Tighten the nut securely, but avoid overtightening, as this can damage the internal threads of the collet assembly. For pneumatic models, ensure your air supply is properly lubricated using an inline oiler to extend the lifespan of the internal vanes.
Understanding Accessory Compatibility
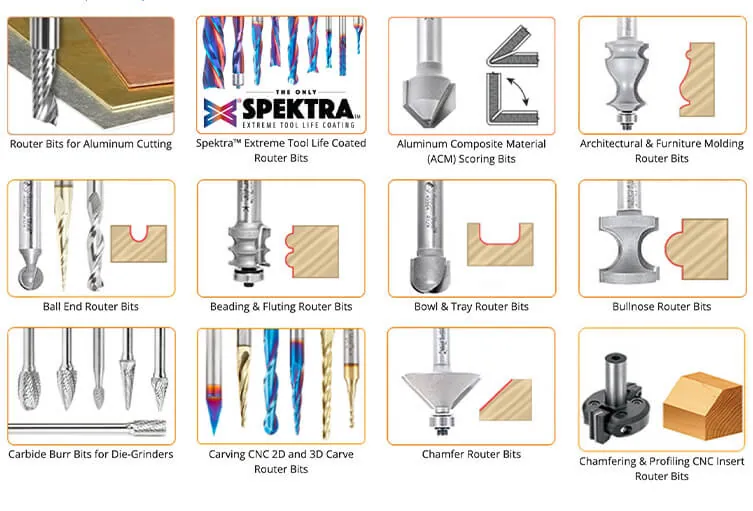
Selecting the right accessory is critical for the safety and effectiveness of your work. Most die grinders accept a quarter-inch or eighth-inch shank. Using the wrong size can lead to dangerous wobbling or the tool ejecting during high-speed rotation. You must consult the Occupational Safety and Health Administration guidelines regarding the safe use of abrasive wheels and rotary bits. Always inspect your bits for cracks or chips before installation.
| Accessory Type | Primary Use Case | Material Compatibility |
|---|---|---|
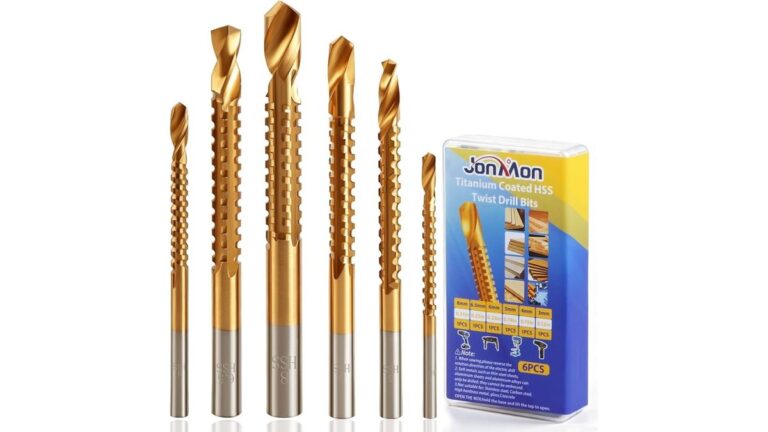
| Carbide Burrs | Heavy material removal | Steel, Aluminum, Iron |
| Mounted Stones | Deburring and shaping | Ferrous metals |
| Flap Wheels | Sanding and smoothing | Wood, Metal, Plastic |
| Buffing Pads | Final polishing | Chrome, Brass, Steel |
How to Handle the Tool Safely
Warning: Never attempt to change an accessory while the tool is connected to a power source, as accidental activation can result in severe lacerations or permanent injury.
When operating the tool, maintain a consistent and steady pressure. Let the tool do the work; forcing the bit into the material often results in “chatter,” where the tool bounces across the surface, causing uneven cuts and premature wear on the bit.
Keep your body positioned to the side of the tool’s rotational path. If a bit shatters, it will typically fly outward in the direction of the spin. By keeping your face and torso out of this line, you add an extra layer of protection to your standard safety gear.
Managing Pneumatic vs Electric Power
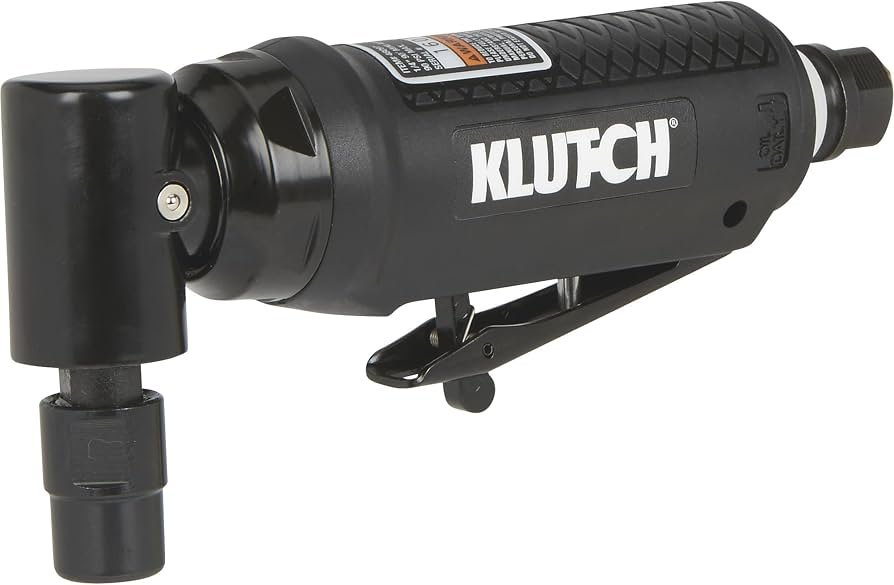
Choosing between air-powered and electric models changes your workflow. Pneumatic die grinders are lightweight and generally more durable in industrial settings, but they require a high-capacity air compressor to maintain constant pressure. Electric models, including corded and battery-operated versions, offer convenience and portability but can be heavier or bulkier. If you’re using a pneumatic tool, ensure your air lines are free of moisture, as water buildup can corrode the internal components of the motor.
| Feature | Pneumatic Die Grinder | Electric Die Grinder |
|---|---|---|
| Power Source | Compressed Air | AC Outlet or Battery |
| Weight | Lightweight | Moderate to Heavy |
| Maintenance | Requires Daily Oil | Periodic Brush Replacement |
| Portability | Tethered to Hose | High (if Cordless) |
Maintenance for Long-Term Performance
Pro Tip: Apply a few drops of high-quality air tool oil into the air inlet of your pneumatic grinder before and after each use to keep the motor running smoothly and prevent rust.
Regular maintenance ensures that your die grinder remains accurate and safe. Check the collet for signs of wear or deformation every few months. If the collet no longer grips the shank tightly, replace it immediately.
Keep the air vents on electric models clear of dust and metal shavings using compressed air, as buildup can lead to motor overheating. Always store your accessories in a designated case to prevent them from hitting each other, which can cause microscopic cracks that lead to catastrophic failures during high-speed operation.
Choosing the Right Speed Settings
Many modern electric die grinders feature variable speed triggers or dials. Understanding when to use high versus low speed is a vital skill. High speeds are generally reserved for smaller diameter bits, such as small carbide burrs or polishing wheels, which require high RPMs to cut effectively.
Larger diameter bits, such as heavy grinding stones, should be run at lower speeds to prevent the accessory from vibrating excessively. Always check the packaging of your specific accessory for the manufacturer’s recommended maximum RPM rating.
Common Mistakes to Avoid
Beginners often make the mistake of using the side of a grinding stone to perform heavy cutting. This is dangerous because the stone is designed to be used on its face. Another common error is failing to secure the workpiece.
A loose piece of metal can catch the edge of the bit, jerking the tool out of your hands or causing the material to fly across the shop. Always use clamps, a bench vise, or specialized jigs to immobilize your workpiece before you even pick up the tool.
Cleaning and Deburring Techniques
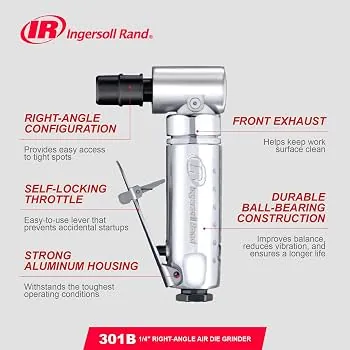
The primary function of a die grinder is often smoothing out sharp edges left by welding or cutting. To achieve a professional finish, use a light, sweeping motion. Don’t dwell in one spot, as this creates depressions and ruins the flatness of the surface.
For weld cleanup, start with a coarse carbide burr to remove the bulk of the material, then switch to a finer flap wheel or polishing pad to blend the surface. This multi-step process is the standard method for achieving a mirror-like finish on metal fabrications.
Related guides
- Best Cordless Die Grinders: What to Compare Before You Buy
- 10 Best Die Grinders for Metalworking, Auto Repair, and Shop Use
Frequently Asked Questions
Can I use a die grinder for wood carving?
Yes, you can use a die grinder for wood carving, provided you select the appropriate burrs. Carbide burrs designed for wood or specialized rotary rasps work effectively. However, you must move the tool constantly to avoid burning the wood, as the high speed of the grinder can easily scorch the surface if the bit lingers in one spot for too long.
Why does my tool vibrate excessively?
Excessive vibration is usually caused by a bent accessory shank, a loose collet, or an accessory that isn’t centered correctly. Stop the tool immediately and inspect the bit. If the bit is straight and the collet is tightened, the tool itself may have internal bearing wear. Never continue to operate a vibrating tool, as it can cause damage to the machine and loss of control.
How do I know if my bit is dull?
A dull bit will require more pressure to remove material, and you’ll notice the tool slowing down or “stalling” under the load. You might also hear a high-pitched squealing sound. If you find yourself pushing harder to get the same results you achieved when the bit was new, it’s time to replace the accessory. Using a dull bit creates unnecessary heat and stress.
Is a die grinder the same as an angle grinder?
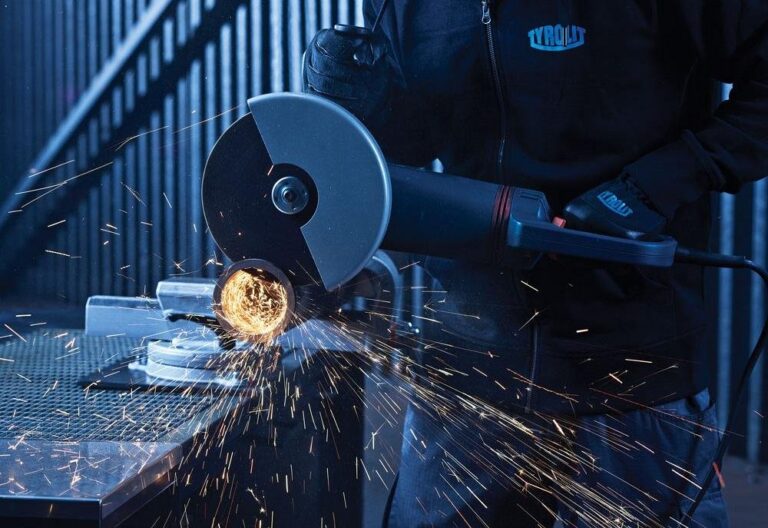
No, they’re different tools. An angle grinder typically uses a larger, side-mounted disc and is intended for heavy grinding or cutting on flat surfaces. A die grinder uses a smaller, end-mounted bit and is designed for precision work, tight spaces, and intricate shaping. While they share some abrasive tasks, they aren’t interchangeable for most specific applications.
What PPE is required for die grinding?
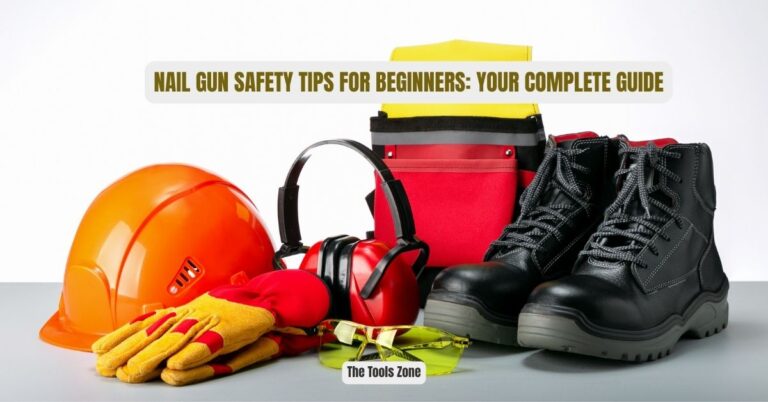
You must wear impact-resistant safety glasses or a full-face shield to protect against metal shards. Hearing protection is mandatory because die grinders produce high-frequency noise that can damage your ears over time. Additionally, wear durable leather gloves to protect your hands from sparks and sharp metal burrs, and ensure you’re wearing long sleeves to prevent debris from embedding in your skin.
Conclusion
Mastering the use of your new tool requires patience and a commitment to safety protocols. Start by practicing on scrap material to get a feel for how the tool reacts under load before moving on to your main project.
As you gain confidence, you’ll find that the die grinder becomes an indispensable part of your workshop. Your next step is to purchase a set of high-quality carbide burrs and spend time practicing consistent, light-pressure movements on a piece of mild steel.