How to Fix a Plunge Router That Sticks or Won’t Plunge Smoothly
A plunge router that sticks or fails to travel smoothly usually suffers from a buildup of resinous wood dust or a lack of lubrication on the guide posts. When the plunge mechanism becomes gritty, it prevents the motor housing from sliding freely along the support columns, which compromises both the precision of your cut and the safety of the tool operator. By performing a systematic cleaning and maintenance routine, you can restore the smooth, fluid motion of your router and extend the life of your equipment.
Key Takeaways

- Remove resin buildup from guide posts using a non-petroleum solvent to prevent dust adhesion.
- Apply only dry lubricants like PTFE or graphite to ensure the mechanism stays free of debris.
- Check for bent columns or damaged springs if cleaning doesn’t resolve the sticking issue.
- Always disconnect the power cord before performing maintenance to ensure operator safety during inspection.
- Verify the alignment of the plunge base to ensure the housing isn’t binding due to uneven tension.
How to Fix a Plunge Router That Sticks
If you find that your router is dragging, the first step is to identify the source of the friction. In many cases, the culprit is a combination of fine sawdust and sap from resinous woods like pine or cherry that has accumulated on the plunge posts. These posts act as the precision rails for your tool, and even a thin layer of hardened residue can cause the bushings to bind.
Warning: Never use heavy grease or oil-based lubricants on plunge posts, as these substances act as a magnet for sawdust, turning into a sticky paste that will make the binding worse over time.
To begin the repair, lay your router on its side on a stable workbench. Use a soft-bristled brush to remove the bulk of the loose dust. Once the area is clear, inspect the posts for any signs of pitting or deep scratches. If the surface is smooth but dirty, proceed to the cleaning phase using a specialized dry film lubricant that’s designed to repel dust and prevent gumming.
Cleaning the Plunge Mechanism
Cleaning your router requires patience and the right choice of chemical agents. Avoid harsh solvents that might damage the plastic housings or the rubber bellows protecting the springs.
- Isopropyl Alcohol (70% or higher): Ideal for dissolving most resinous buildup without leaving a residue.
- Fine Synthetic Steel Wool (Grade 0000): Use this only if there’s stubborn, baked-on material that the solvent alone can’t remove.
- Microfiber Cloths: Essential for wiping away loosened debris to ensure a clean, dry surface.
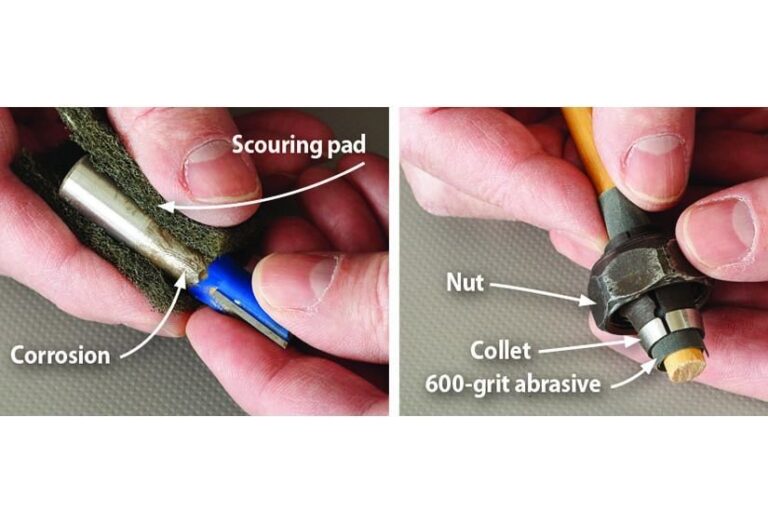
Start by wiping the posts down with a cloth dampened with isopropyl alcohol. If you encounter sticky patches, let the alcohol sit for a few seconds to soften the resin before wiping again. If you must use synthetic steel wool, apply very light pressure to avoid removing any of the factory-applied plating, which could lead to accelerated oxidation or future friction.
Why Is My Router Binding?
Binding often occurs when the internal springs aren’t providing even pressure or when the locking mechanism isn’t fully disengaging. If the tool feels like it is “catching” at a specific depth, it’s possible that the locking lever is slightly bent or that the tension nut has vibrated loose.
Common Causes of Sticking
| Cause | Effect | Solution |
|---|---|---|
| Resin Build-up | Increased drag | Clean with alcohol |
| Heavy Lubricants | Dust accumulation | Degrease and dry |
| Misaligned Springs | Uneven travel | Reset spring tension |
| Bent Columns | Mechanical binding | Replace support rods |
| Worn Bushings | Lateral slop/sticking | Replace bronze bushings |
If the router only sticks when the plunge lock is engaged or disengaged, the issue is likely within the locking mechanism itself. Check the tension screw on the locking lever; it may need a simple adjustment with a hex key to allow the lever to clear the post completely when in the “open” position.
Choosing the Right Lubricant
Selecting the correct lubricant is critical for long-term performance. You want a product that provides a low-friction barrier but dries completely so it doesn’t trap airborne dust particles.
- PTFE Sprays: These leave behind a microscopic layer of Teflon that allows the bushings to slide with minimal resistance.
- Dry Graphite Powder: Useful in extremely dusty environments, though it can be messy to apply.
- Silicone Dry Sprays: Effective at reducing friction on metal-to-metal contact points.
Pro Tip: When applying a dry lubricant, spray it onto a clean cloth first and then wipe the posts. This prevents overspray from reaching the motor cooling vents or the collet, where you want to maintain a clean, oil-free environment for the router bit.
Inspecting Internal Springs
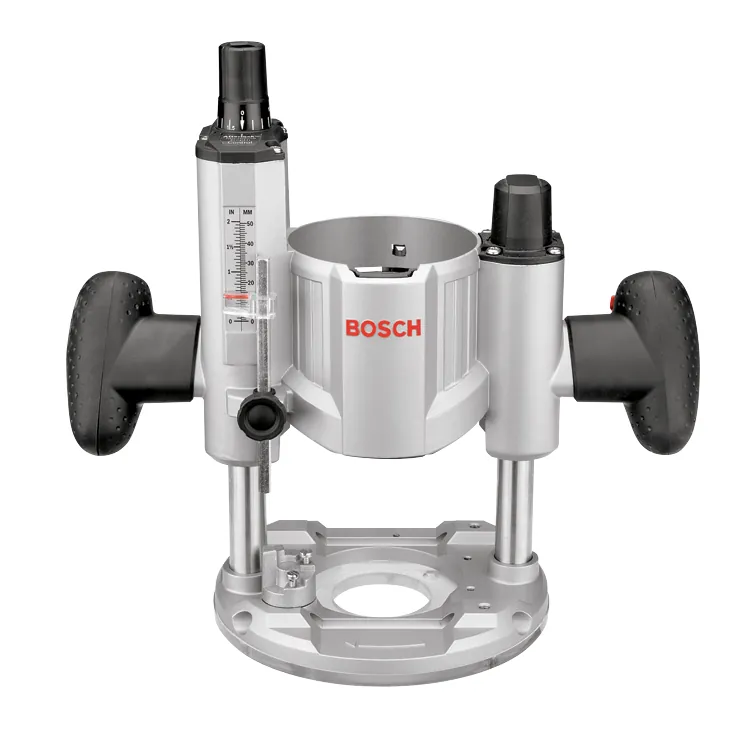
Sometimes the issue isn’t external friction but internal mechanical failure. Plunge routers rely on heavy-duty coil springs to return the motor to the top position. If one spring has collapsed or become misaligned, the housing will tilt slightly as you plunge, causing the bushings to bind against the posts.
To inspect the springs, you’ll typically need to remove the top cap of the router. Consult your owner’s manual for the specific disassembly procedure, as this varies by model. Look for:
- Deformed Coils: A spring that’s shorter than its counterpart or shows signs of heat damage.
- Obstructions: Pieces of broken wood or debris that have fallen into the spring housing.
- Binding: Signs that the spring is rubbing against the inside of the support column.
If you find a damaged spring, you should replace the pair. Replacing only one can lead to uneven tension, which will cause the same binding issues you’re currently trying to resolve.
Identifying Column Damage
If you have cleaned the posts and checked the springs, but the router still refuses to plunge smoothly, you may be dealing with a bent support column. This often happens if the router has been dropped or if the plunge lock was left engaged while the tool was subjected to extreme lateral force.
To test for straightness, remove the motor housing from the base. Place a precision straightedge along the length of each column. If you see a gap of light between the straightedge and the metal, the column is bowed. Even a deviation of a few thousandths of an inch is enough to cause the bushing to jam. In this scenario, the only effective repair is to order replacement columns from the manufacturer.
Maintaining Your Router Base
The base plate of your router is often overlooked, but it plays a role in how the tool feels during a plunge. If the base plate is loose or if the sub-base isn’t perfectly centered, the router may feel unstable.
Ensure all screws securing the base to the plunge mechanism are tight. If you have replaced the sub-base recently, check that the bit hole is centered. If the bit is rubbing against the edge of the opening in the sub-base, it can create a vibration that makes the entire plunge action feel “crunchy” or hesitant.
Tools Needed for Maintenance
Having the right toolkit on hand will make the maintenance process faster and more effective. You don’t need expensive specialized equipment, but having these items ready will prevent you from skipping steps.
| Tool Name | Purpose | Frequency |
|---|---|---|
| Hex Key Set | Adjusting locks and bolts | As needed |
| Soft Brush | Removing loose sawdust | Every use |
| Isopropyl Alcohol | Dissolving resin | Monthly |
| PTFE Dry Spray | Reducing friction | Monthly |
| 0000 Steel Wool | Polishing columns | Annually |
Always keep these items in a dedicated drawer or box near your workstation. Regular maintenance is a proactive way to avoid the frustration of a sticking tool in the middle of a delicate project.
When to Seek Professional Help
There are times when a DIY repair isn’t advisable. If you have disassembled the router and discovered that the internal bushings are worn to the point of “slop,” or if the motor housing itself is cracked, it’s time to contact an authorized service center.
Attempting to machine your own bushings or weld a cracked housing is dangerous and will likely void any remaining warranty. Professional technicians have access to precision gauges and replacement parts that ensure the router meets the original factory tolerances for squareness and depth control.
Replacing Worn Bushings
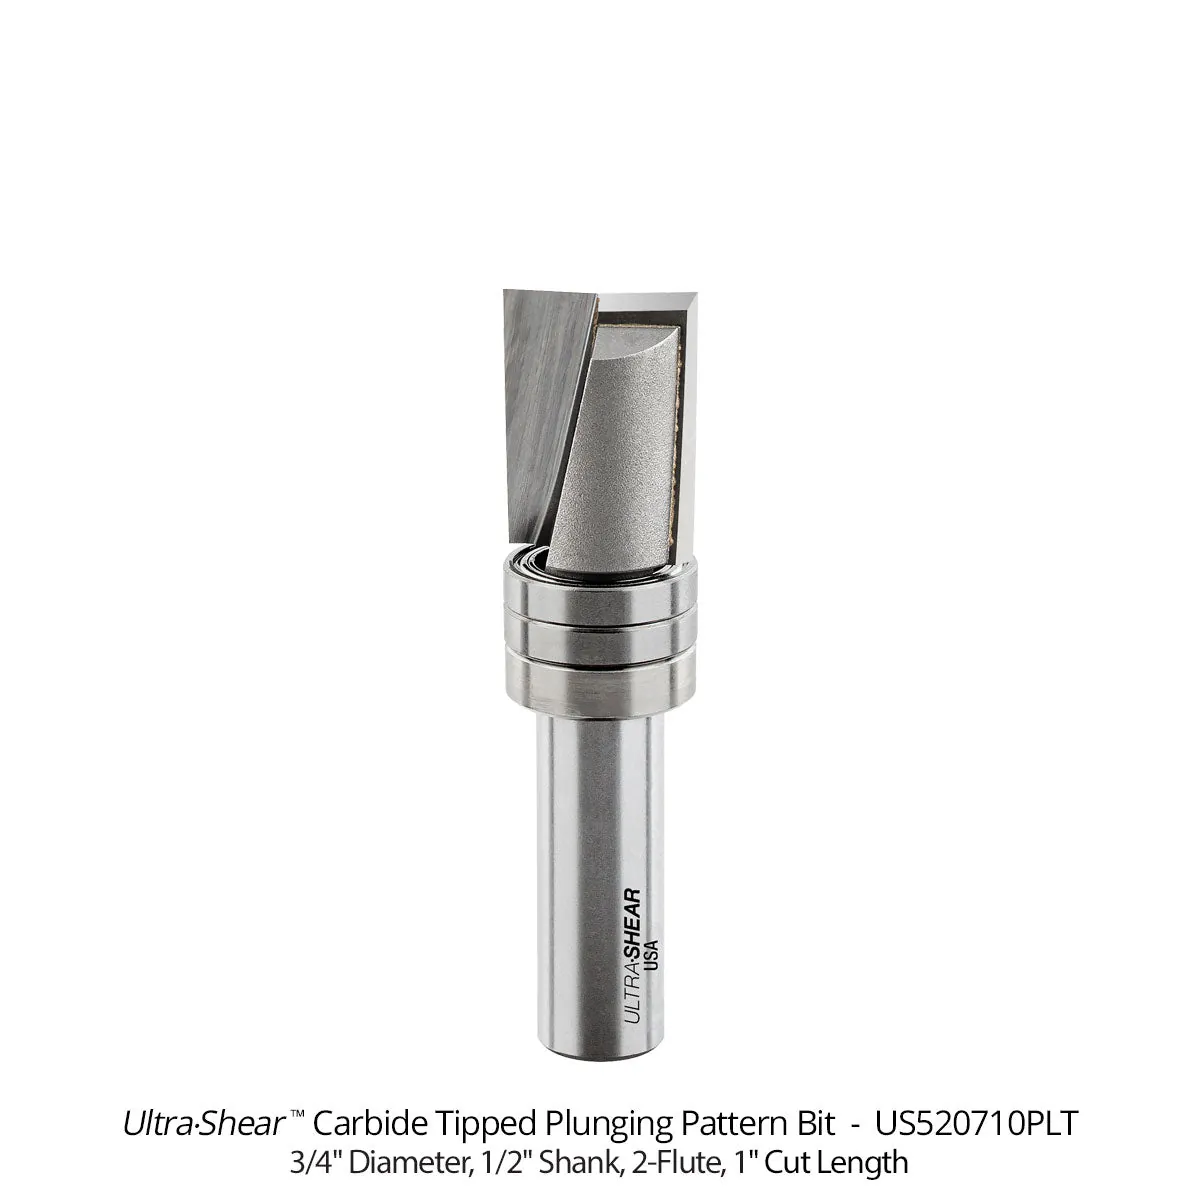
Bushings are the interface between the housing and the columns. Over thousands of plunges, these components can wear down. If the router has excessive lateral play (wobble) and sticks, the bushings are the most likely culprit.
- Extract the old bushings: Use a press or a gentle punch, depending on the manufacturer’s design.
- Install replacements: Ensure they’re pressed in perfectly square.
- Lubricate: Apply a light coat of dry lubricant before reassembly.
If you aren’t comfortable using a press, don’t attempt this repair. Forcing a bushing into place can crack the aluminum casting of the router housing.
Related guides
- Cordless vs. Corded Plunge Routers: Which Makes More Sense?
- Plunge Router vs Fixed-Base Router: Which One to Choose
- 10 Best Plunge Routers for Woodworking: Top Picks for Every Shop
Frequently Asked Questions
Why does my router feel gritty when I plunge it?
Gritty motion is almost always caused by sawdust mixing with resin on the plunge columns. When this debris enters the bushing area, it acts like sandpaper, creating friction and a rough, tactile sensation. Regular cleaning with a dry cloth and the occasional application of a dry lubricant will typically solve this issue and return the router to a smooth, factory-like operation.
Can I use WD-40 to fix a sticky router?
No, you should never use standard WD-40 or similar oil-based lubricants on a router. These products are designed to penetrate and leave a film that attracts dust, which will quickly turn into a thick, gummy sludge. This sludge will clog the bushings and make your sticking problem significantly worse. Always use a dedicated dry film lubricant or a silicone spray that’s rated for woodshop use.
How often should I clean the plunge posts?
The frequency depends on how often you use the tool and the type of wood you cut. If you frequently work with resinous softwoods like pine, you should wipe the posts down after every major project. For general use, a monthly maintenance check involving a quick wipe with isopropyl alcohol and a light application of dry lubricant is sufficient to keep the mechanism functioning smoothly.
What should I do if the router is still sticky after cleaning?
If cleaning and lubrication don’t help, check for mechanical issues. Look for bent columns using a straightedge, ensure the plunge springs aren’t damaged or misaligned, and verify that the locking mechanism is fully disengaging. If these parts are in good condition, the internal bushings may be worn out or the motor housing might have a hairline crack that’s affecting the alignment of the columns.
Is it safe to use a router if it sticks?
It isn’t recommended to use a router that sticks, as it poses a significant safety risk. If the router doesn’t plunge smoothly, you may be forced to apply excessive downward pressure, which can lead to a loss of control or an uneven cut. Furthermore, a binding tool can cause the bit to “jump” or “grab” the workpiece, which can result in damaged materials or, in severe cases, kickback.
Conclusion
Once you have completed the cleaning and inspection process, reassemble the router and test the plunge action on a scrap piece of wood. The movement should be consistent and fluid without any hesitation. If the tool still feels unresponsive, take a moment to double-check the alignment of the base plate and the tension of the plunge lock. Proper maintenance ensures your router remains a reliable, precise companion for all your future woodworking projects.